How to e-Sign Disclosure with ResiCentral
If your lender is ResiCentral, you’ll receive your loan disclosures through their secure online signing system. This process lets you review, sign, and return important documents without the hassle of printing, scanning, or mailing anything.
By signing electronically, you can:
- Keep your loan process moving quickly
- Review documents from anywhere
- Sign securely with built-in identity verification
The whole process usually takes less than 10 minutes — and you can complete it on your phone, tablet, or computer.
Here’s exactly how to complete the process from start to finish.
Step-by-Step: How to e-Sign Disclosures with ResiCentral
1. Check your email
Look for an email from noreply-MortgageTech@ice.com and click View Your Documents.
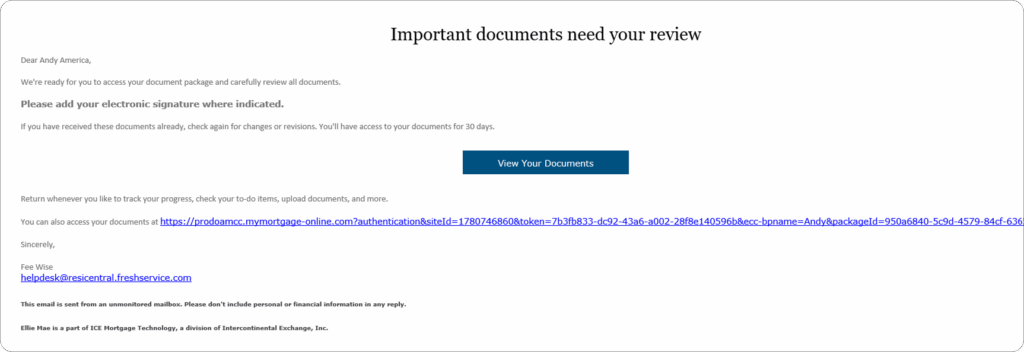
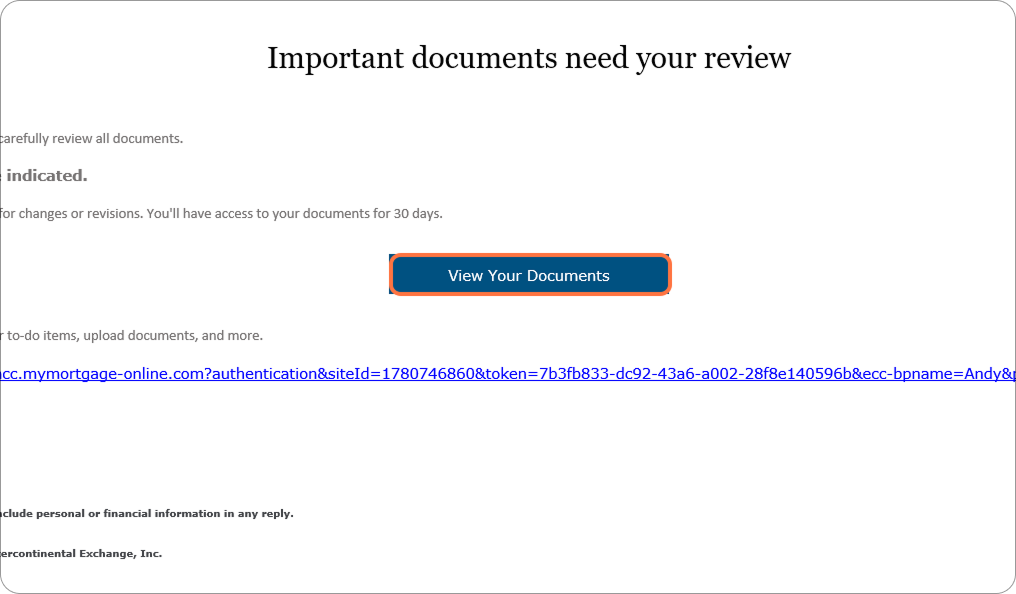
2. Open your documents
Click View Your Documents to begin the e-signing process.
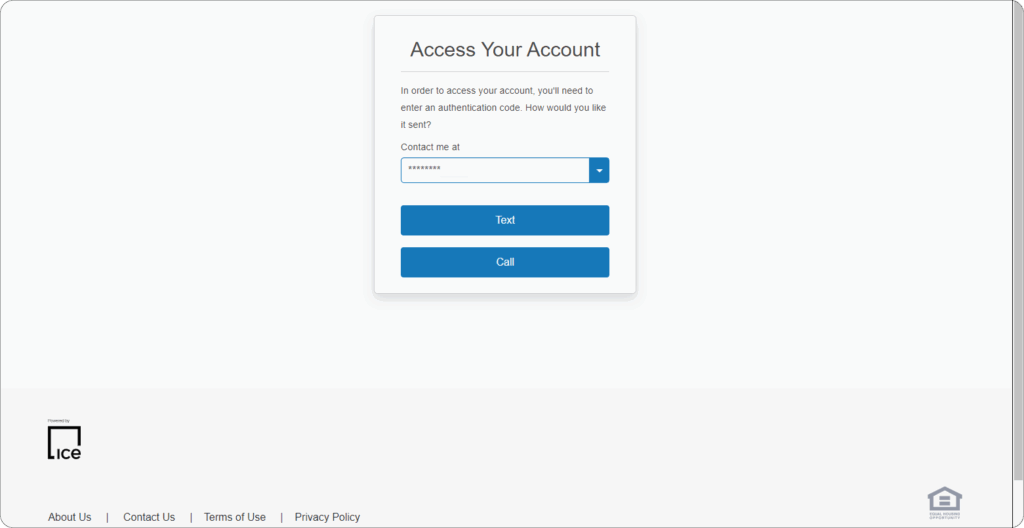
3. Authenticate your account
Your phone number from your application will appear. Choose whether to receive your 6-digit code via text or call.
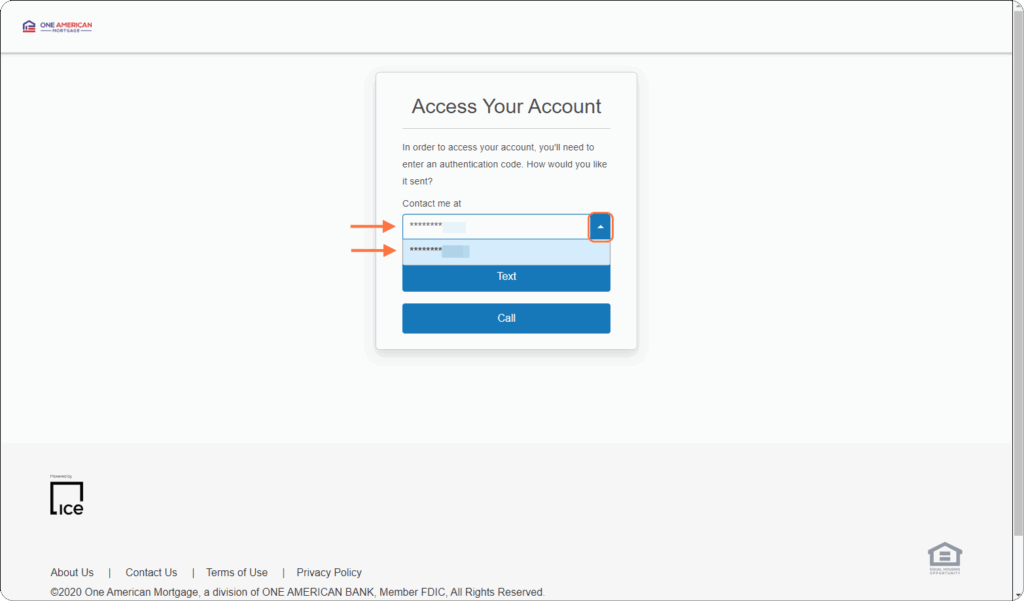
4. Select the correct number
If you have multiple numbers listed on your account, use the dropdown to choose the right one.
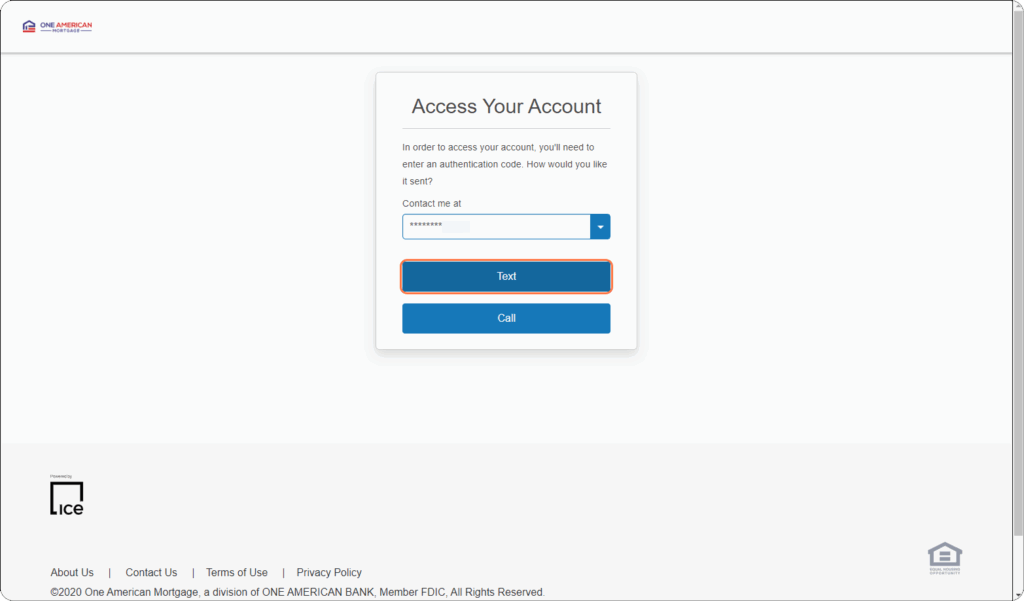
5. Choose text or call
Choose a method that is more convenient to you:
- Text: sent instantly, valid for 15 minutes.
- Call: comes from a toll-free number, press any key to hear your code (it will be read twice).
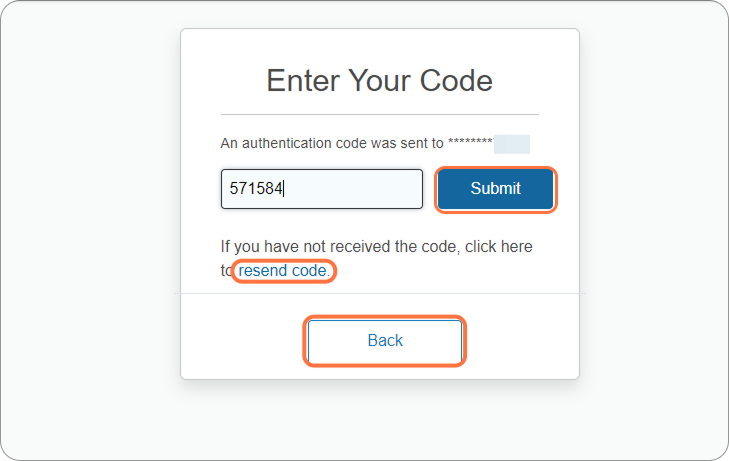
6. Enter your code
Type the 6-digit code and click Submit.
Didn’t get it? Click Resend code or go back to select another number.
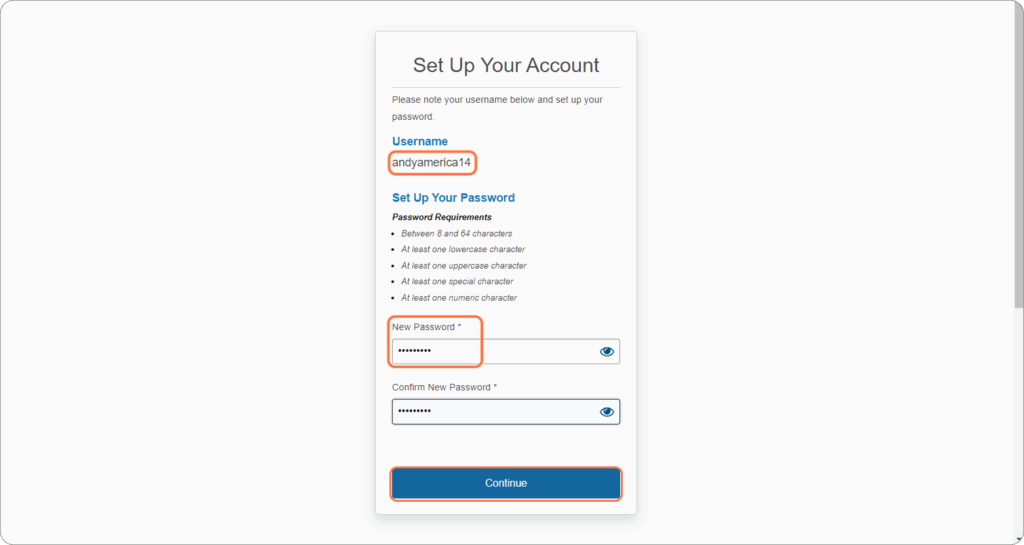
7. Create your password
A username will be generated for you. Create a password that meets requirements, then click Continue.
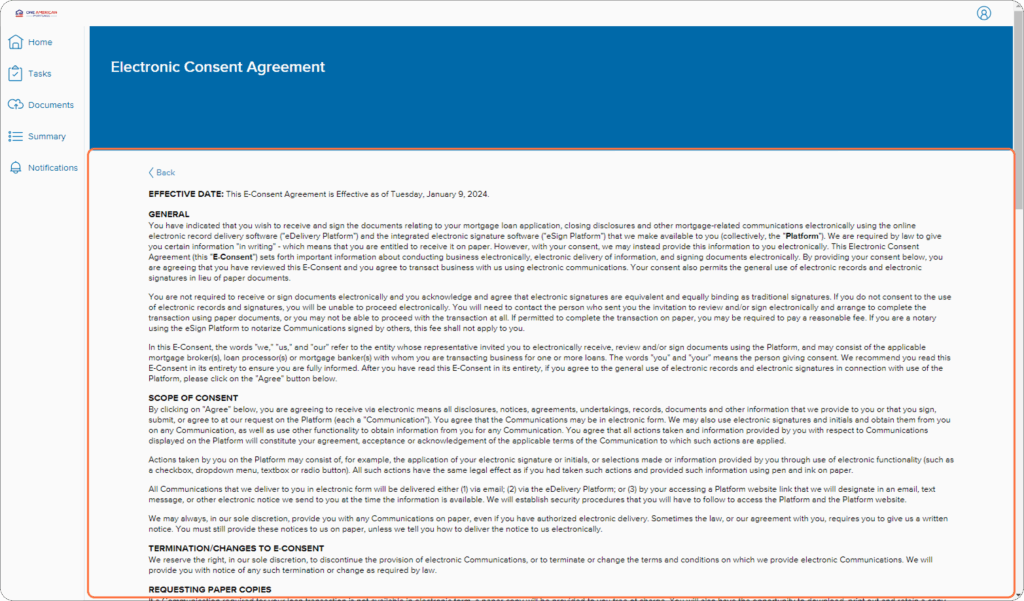
8. Sign the E-Consent
Review the form and click Agree.
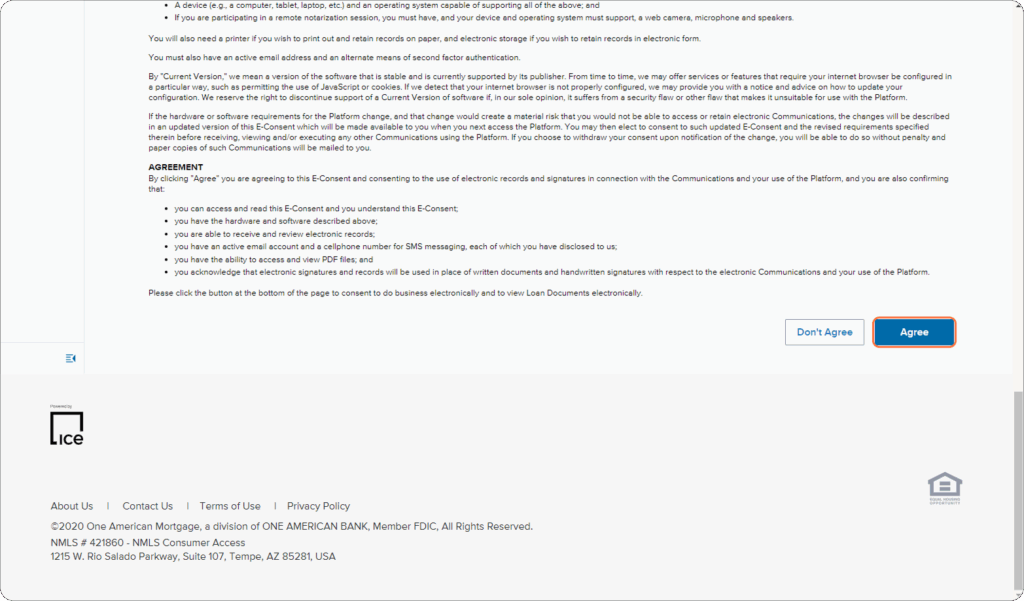
9. Confirm agreement
Click Agree again to proceed.
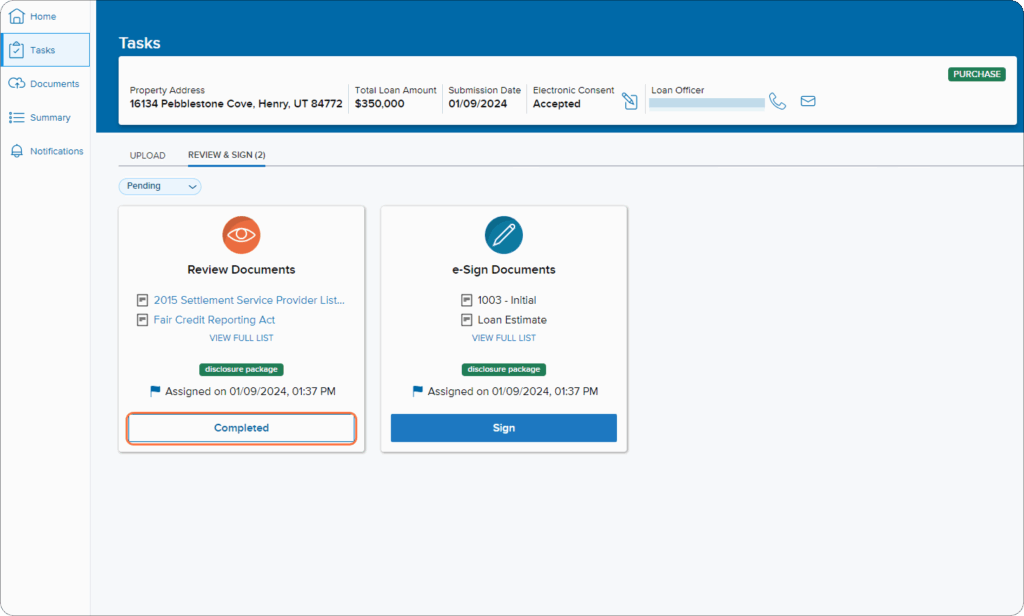
10. Review documents
Read through them, then click Completed.
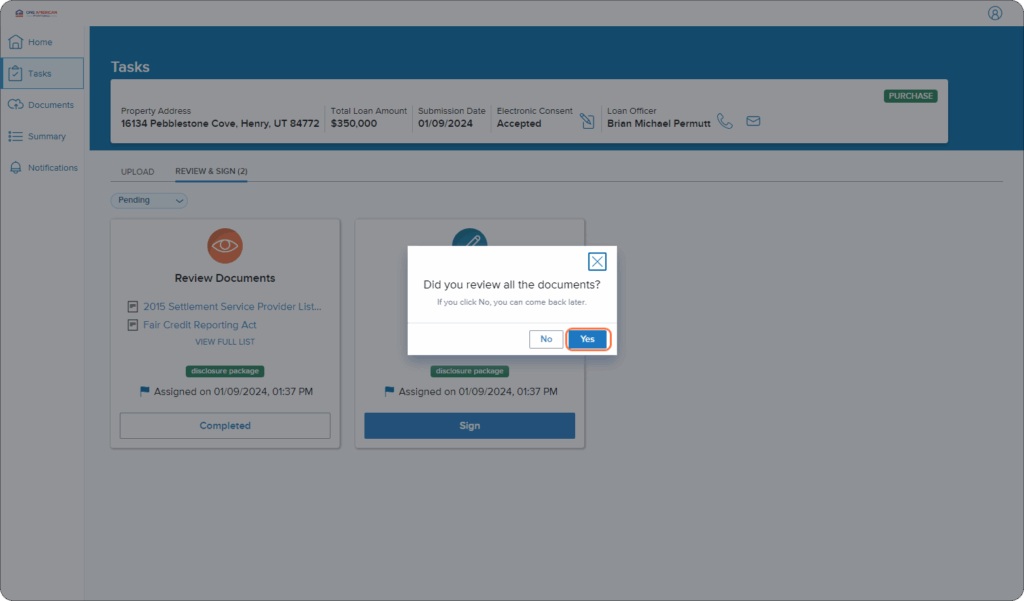
11. Confirm review
Click Yes to confirm you’ve reviewed everything.
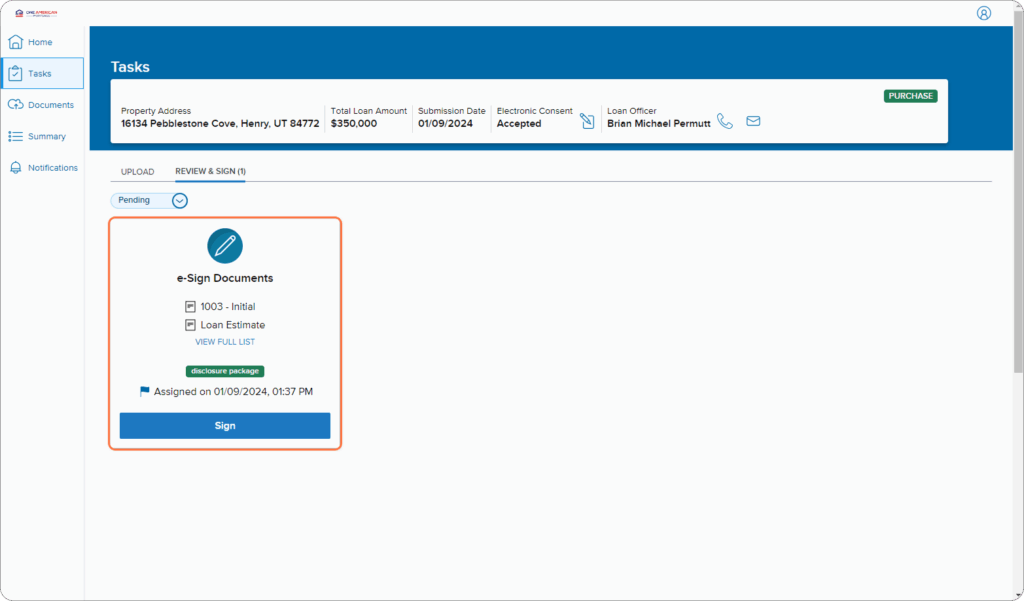
12. Check your task list
The “Review Documents” task will disappear — only “e-Sign Documents” will remain.
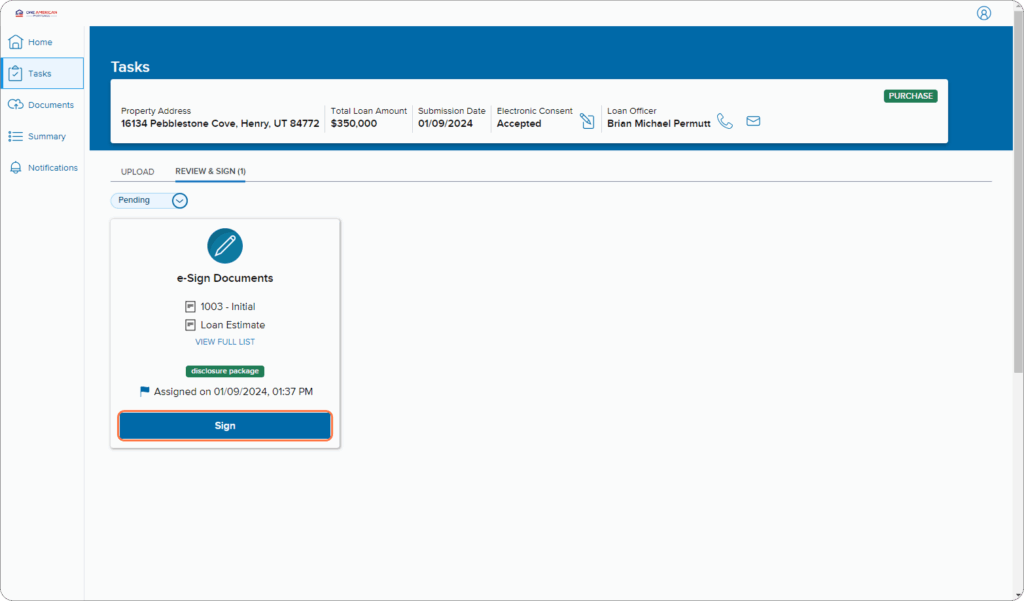
13. Start signing
Click Sign when you’re ready.
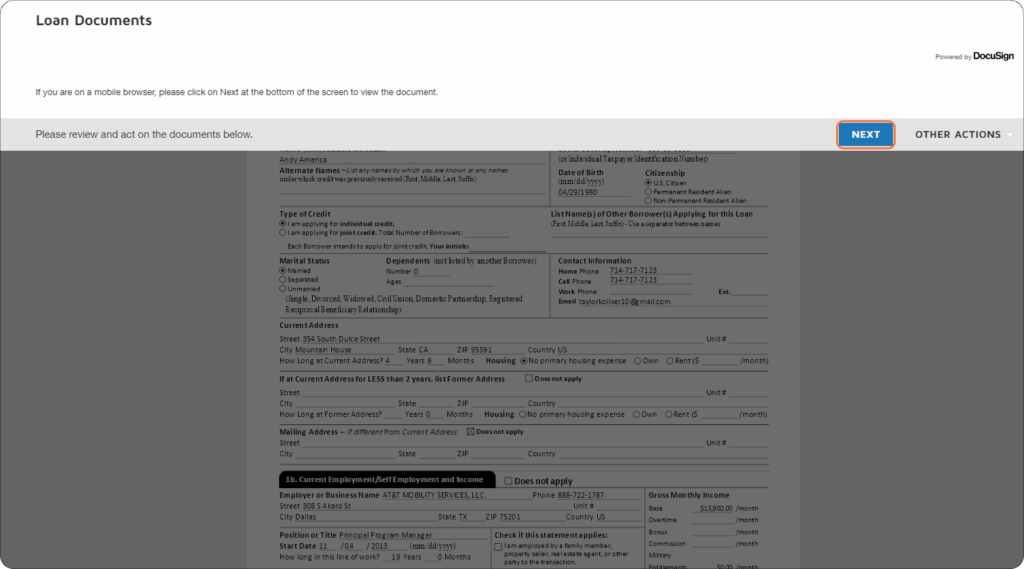
14. Open in DocuSign
Click Next to move to your disclosures.
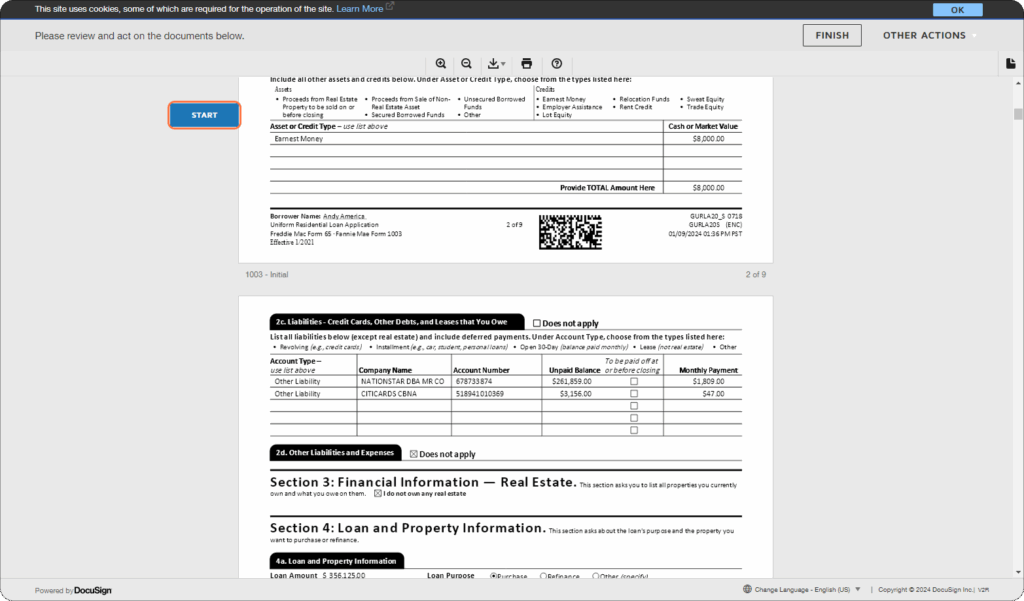
15. Begin signing
Click Start to jump to your first signing spot.
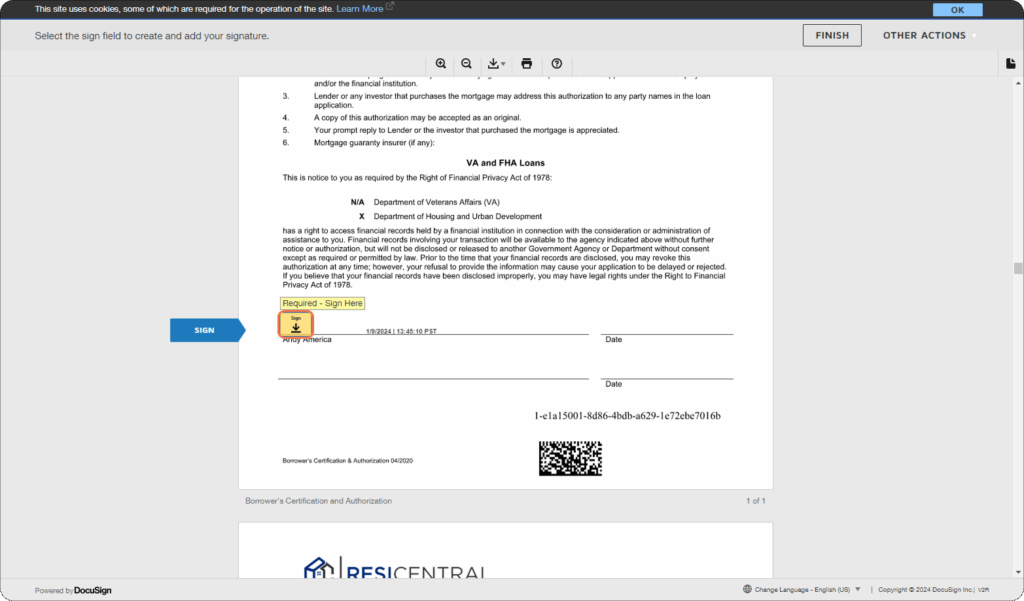
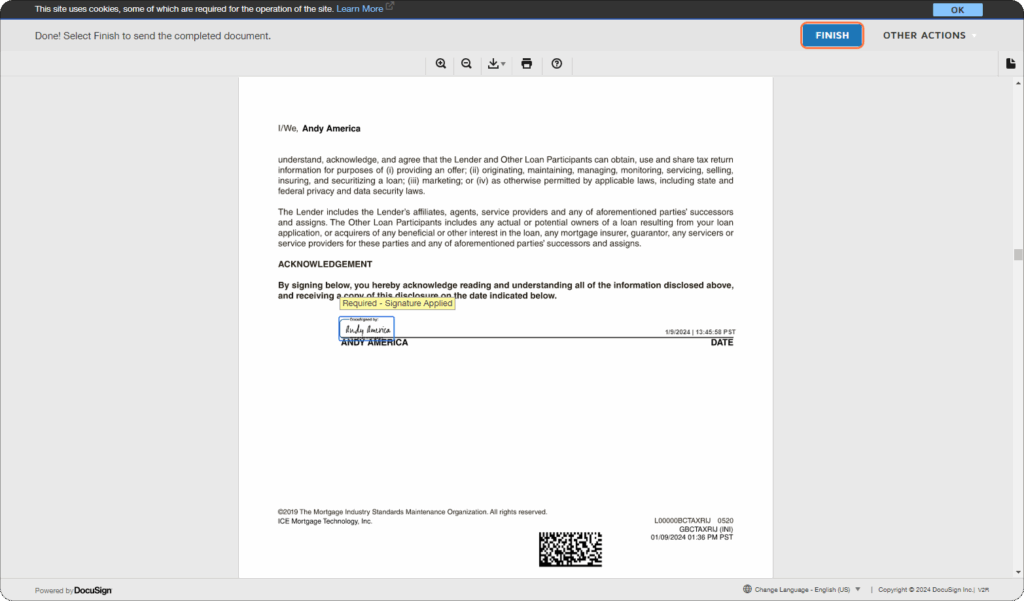
16. Add your signature
Click the yellow Sign box to place your electronic signature.
If this is your first time using DocuSign, see our guide: How to Sign Documents with DocuSign.
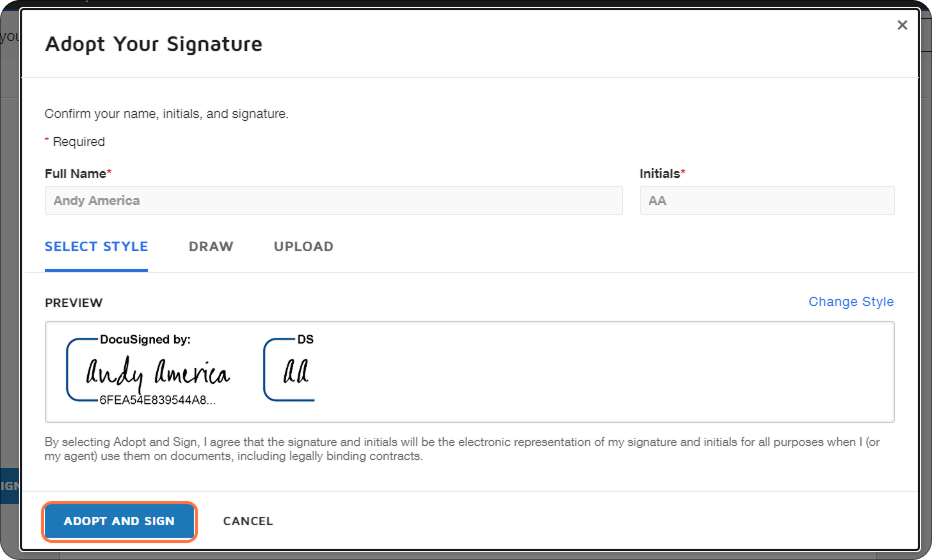
17. Adopt your signature
Create a signature style you like, then click Adopt and Sign.
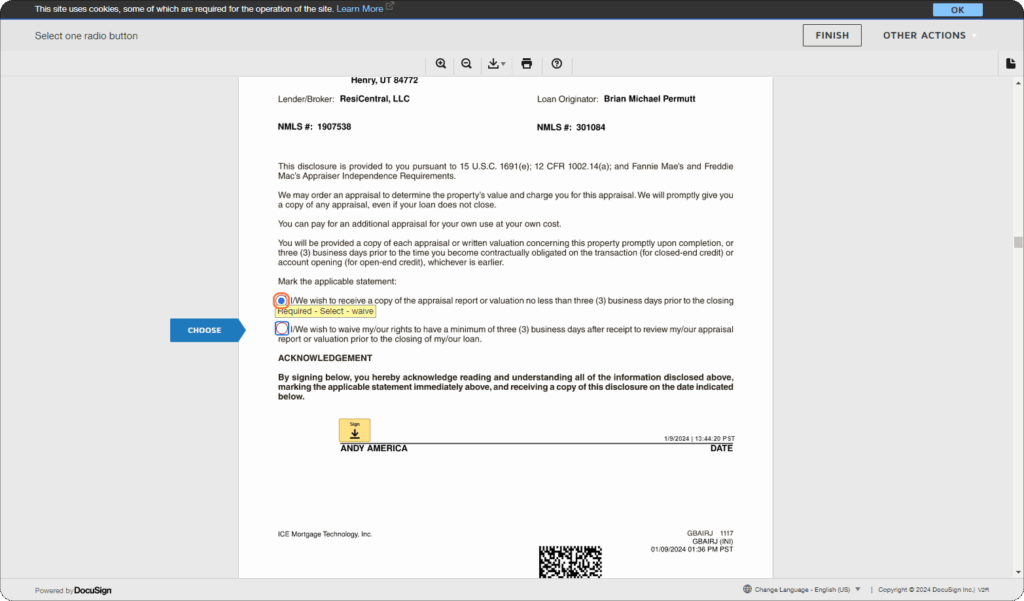
18. Complete all fields
Fill out and sign any required sections.
19. Finish signing
Click Finish to submit your completed disclosures.
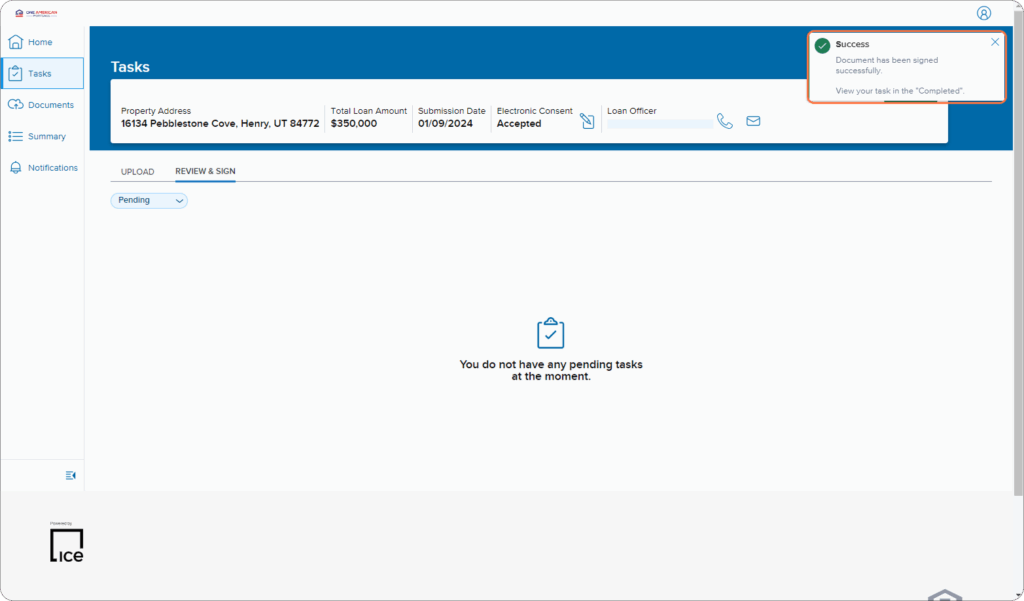
20. Get confirmation
You’ll see a message confirming your signed disclosures are complete.
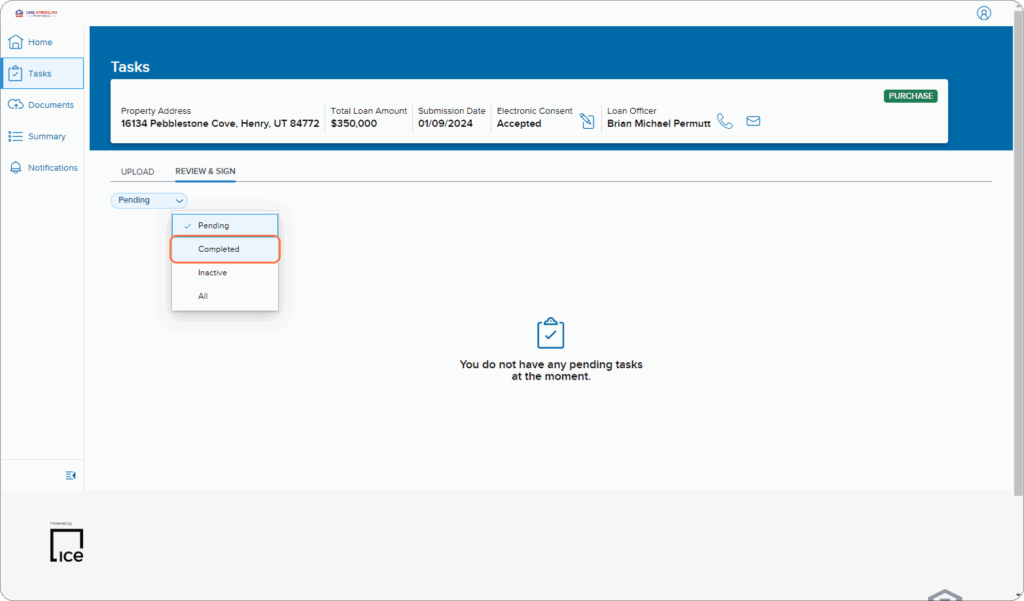
21. Proceed to next steps
You can now upload underwriting documents or review all signed packages under Completed tasks.
Tips for a Smooth Signing
- Have your phone nearby — you’ll need it to receive your verification code.
- Check your spam or promotions folder if you don’t see the ResiCentral email in your inbox.
- Be mindful of code attempts — after 5 failed code entries, your account will lock and must be reset by ICE Mortgage Technology (your loan advisor can help).
- Password help is available — if you forget it, click Forgot Password or ask your UnrealFi loan advisor to reset it for you.
- New to DocuSign? Reviewing the How to Sign Documents with DocuSign guide first will make the process even faster.
Final Thoughts
Signing your disclosures online with ResiCentral is fast, convenient, and secure. You’ll save time, skip the paperwork shuffle, and keep your mortgage process on track.
If anything doesn’t go as planned — whether it’s a missing email, trouble receiving your code, or a password issue — your UnrealFi loan advisor is just a call or email away. They can quickly help you get signed in, resolve technical issues, or connect with ResiCentral’s system provider to get things moving again.
Once your disclosures are signed, you’re one step closer to closing on your new home.