How to e-Sign Disclosure with Loan Store
If your lender is The Loan Store (TLS), you’ll receive disclosures through their secure Borrower Portal. This lets you create your account, review, and e-sign documents quickly – no paper, printing, or mailing required.
By signing electronically, you can:
- Keep your loan process moving without delays
- Review disclosures anywhere, anytime
- Sign securely with built-in identity verification
Here’s exactly how to complete the process, step by step.
Step-by-Step: How to e-Sign Disclosures with The Loan Store
1. Check your email
You’ll receive an invitation email prompting you to create your account and view disclosures.
👉 Each borrower will receive a separate email. To avoid issues, each borrower should use a unique email address.
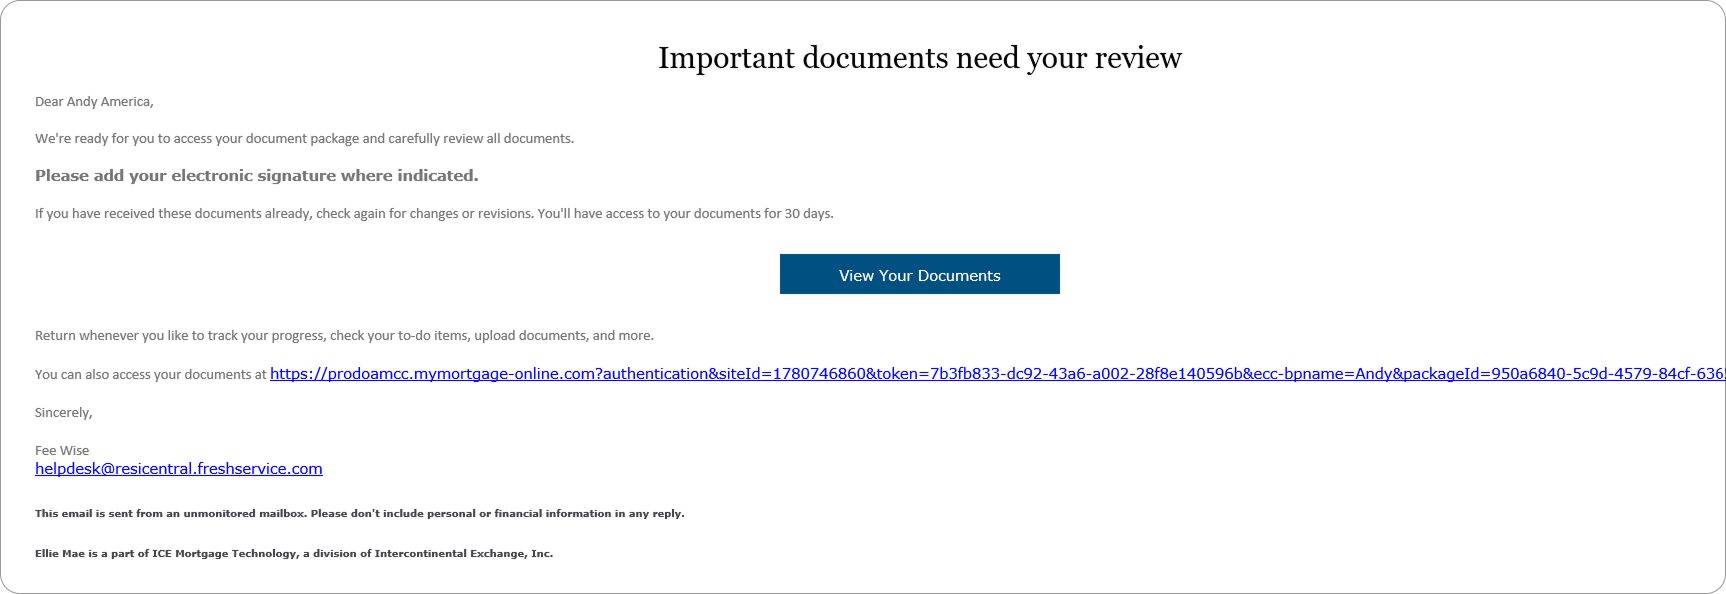
2. Click the link
Select the hyperlink labeled LINK to begin.

3. Authenticate your account
Verify the last four digits of your phone number.
Choose Text or Call to receive a 6-digit code (valid for 15 minutes).
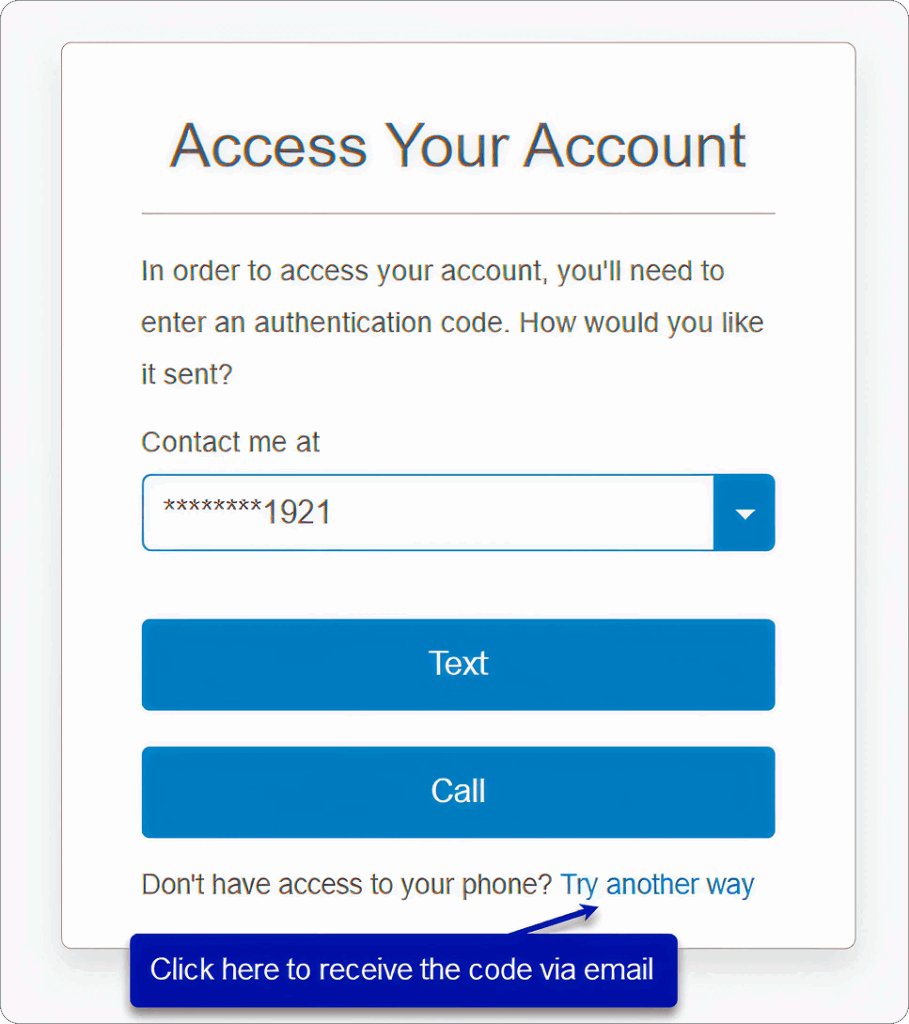
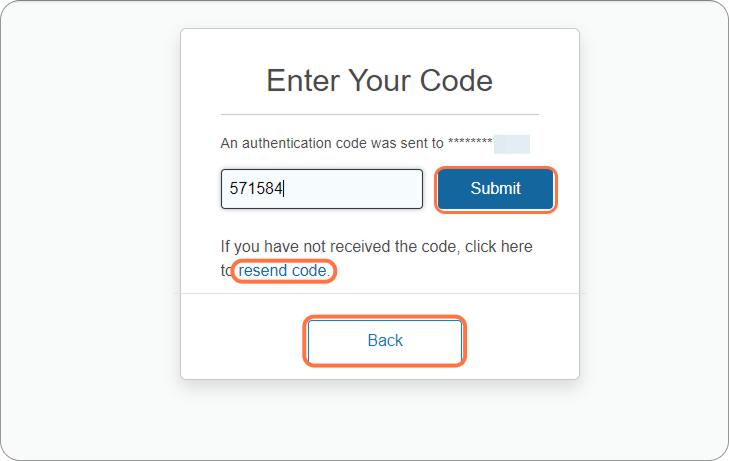
Enter the code into the One Time Passcode box, then click Submit.
👉 Didn’t receive it? Click Resend Code.
4. Create your account
Set up and confirm your password.
Your username is auto-generated and cannot be changed.
👉 If an account already exists with your email/name, you’ll see the Log In screen instead. Use your password or click Forgot your password.

5. Enter the portal
After creating your password, the Borrower Portal opens.
👉 Next time, you’ll only need your username and password to log in.
6. Provide consent
Click Review Electronic Consent.

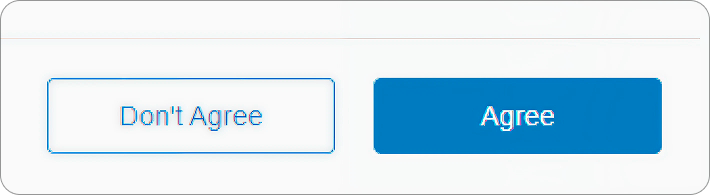
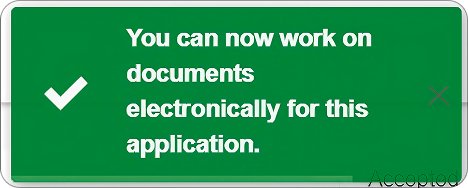
7. Agree to e-signing
Click Agree to continue. A popup will confirm.
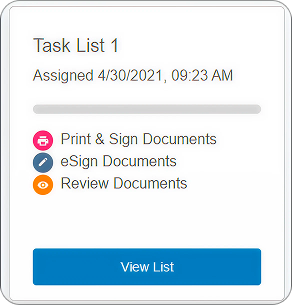
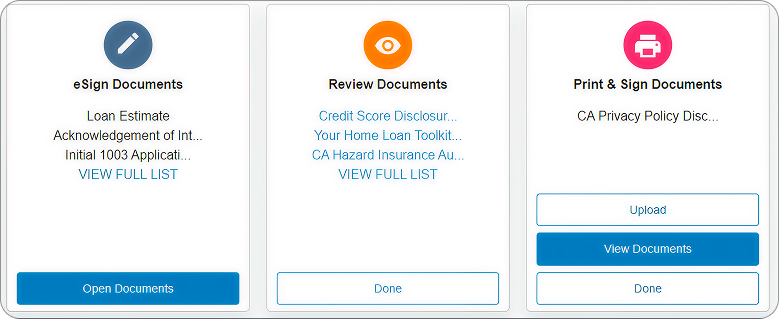
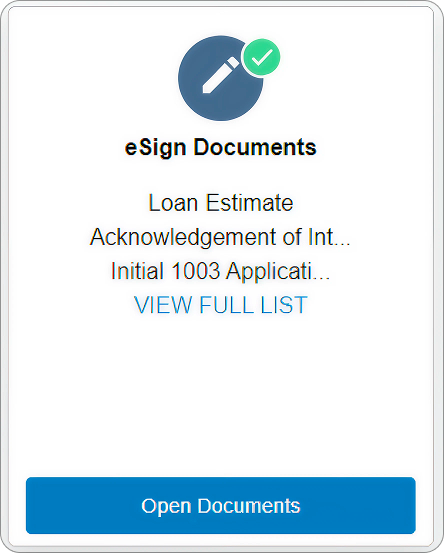
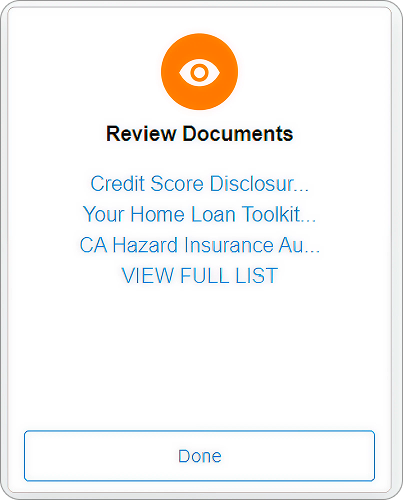
8. View your documents
Click View List, then Open Documents to review your full disclosure package.
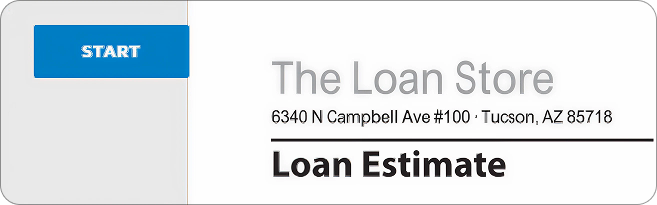
9. Begin e-signing
Click Next to move to the initial disclosure set, then click Start.

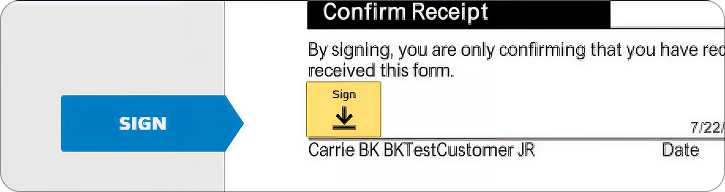
10. Place your signature
The system takes you to the first signature field. Click the yellow box.
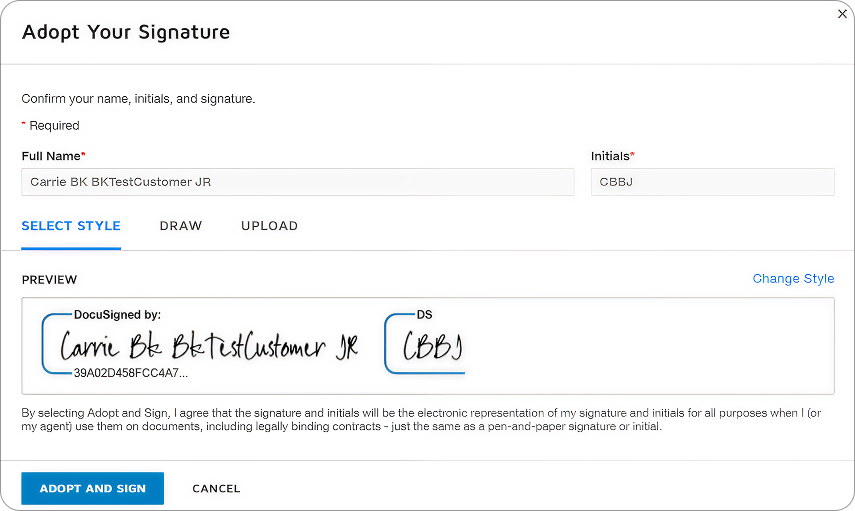
11. Adopt your signature
Create a signature style you like, then click Adopt and Sign. If this is your first time using DocuSign, see our guide: How to Sign Documents with DocuSign.
12. Continue signing
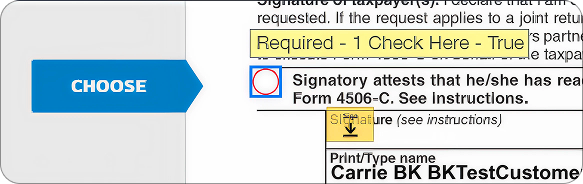
Move through each page, signing where required.
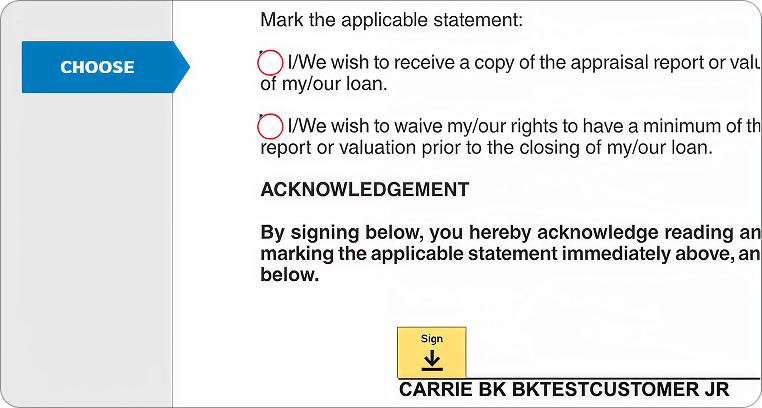
Some pages require choices before signing (e.g., appraisal delivery timing).
13. Finish signing
Click Finish when you’ve completed all fields. A green checkmark confirms completion.
14. Confirm completion
Click Done, then click Yes to proceed.
The green checkmark identifies completion of that section.
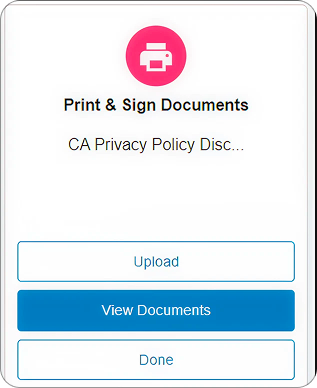
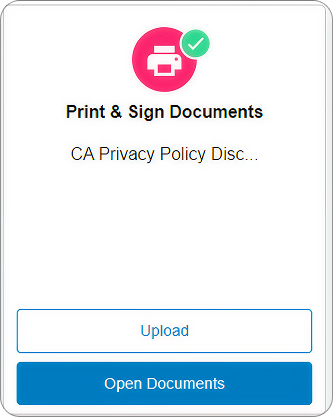
15. Print & Sign section
Click Done under “Print & Sign Documents.”
👉 Note: You don’t need to print anything. Signed docs are automatically uploaded to TLS.
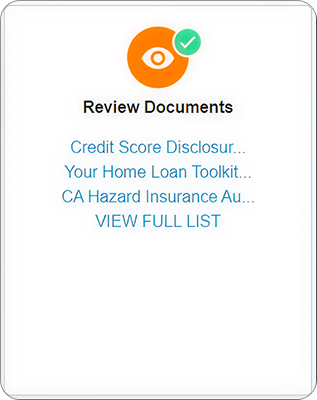
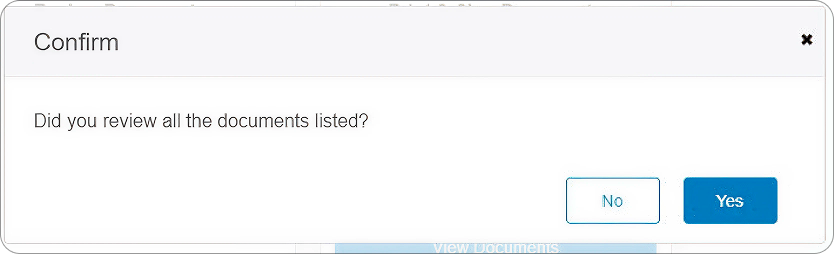
16. Confirm review
Click Yes to confirm all documents have been reviewed.
17. Completion check
A green checkmark will appear under “Print & Sign Documents.”
18. You’re done!
Congratulations – your disclosures are fully e-signed and uploaded.
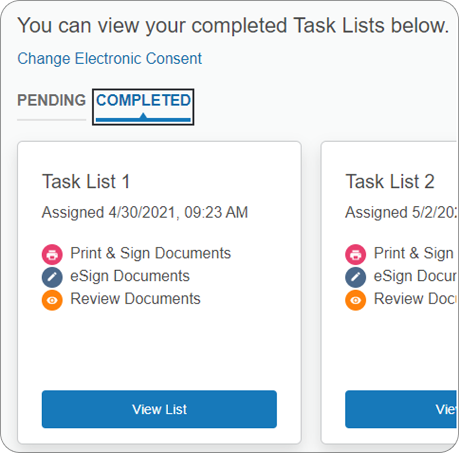
Accessing the TLS Borrower Portal Later
- Completed: view signed documents
- Pending: view outstanding tasks
- Forgot password? Use Forgot your username or password (TLS cannot reset it for you).
Tips for a Smooth Signing
- Enable cookies and disable pop-up blockers in your browser.
- Keep your phone nearby to receive your one-time passcode.
- If multiple borrowers: each must use their own email address.
- Lost password? Use the reset link on the login page.
- New to DocuSign? Reviewing the How to Sign Documents with DocuSign guide first will make the process even faster.
Final Thoughts
E-signing disclosures with The Loan Store (TLS) is fast, secure, and efficient. Once finished, your signed documents go directly to your loan officer, keeping your mortgage process moving smoothly.
If you have any trouble, your UnrealFi loan advisor is ready to help.